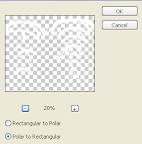
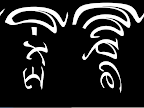
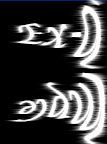
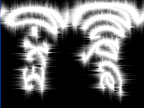
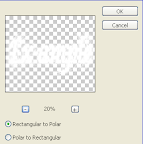
2. Right click on text layer icon and choose rasterize type, than in menu choose Filter > Distort >Polar Coordinate. Set it to convert from Polar to Rectangular. 3. Now go to Image > Rotate Canvas > 90CW than apply Filter > Stylize > Wind, Method: Wind apply twice for each direction. 4. Rotate canvas again to position before, in menu Image > Rotate canvas > 90CCW and apply wind filter again twice for each direction. 5. Now apply Filter > Distort > Polar Coordinate and choose convert from Rectangular to Polar. 6. Now time to colorized. In menu Layer > New Adjustment Layer > Color Balance. Choose the color you want for the text in color balance adjustment window. Finally your Ray effects text is done. You can add more blur if you like but in this case I like the contrast.
This effect is so contrast with the dark background. The effect so light and not hard to make it. It can combine with other effect to make your picture more interesting. So read on More...
1. Create new file with black background and foreground color is white. Add your text and place it on center of the canvas.


Sunday, July 13, 2008
GreenRay Text
Labels: Photoshop, Text Effect
Posted by HaRd 2 sLeep at 10:23 AM
Subscribe to:
Post Comments (Atom)


0 comments:
Post a Comment