

This time I learn how to make wooden text. This technique use a lot of Filter like Clouds, Gaussian Blur, Motion Blur, Twirl Distort and others. So I got many lesson from this tutorial and now I got little knowledge about the function of any filter that use here. And I'm sure that you want to know too, so let me show you how to make it. You can download this tutorial EBook here... or keep reading More...
1. Make new file like usual use white as a background. Define foreground color bright brown and background color darker brown. On menu choose Filter>Render>Clouds, then apply filter again Filter>Noise> Add noise, define Amount: 10%, choose Gaussian and check on Monochromatic. Click OK.

2. Use filter again but this time use Filter>Blur>Motion Blur, define Angle: 0 and Distance: 999 then click OK.

3. Go to Filter again this time use Filter>Blur>Gaussian Blur and define Radius: 1 pixel then click OK.

4. Again on menu Filter>Distort>Twirl , define Angle: 50 and click OK.

5. Duplicate background layer use CTRL + J and now Layer 1 just added on layer palette. Double click on it to show layer style dialog box. Choose Bevel and Emboss and leave the setting on default. Next duplicate the layer 1 use CTRL + J. Change both layer name, for upper layer name it "Basic" and for below it "Frame".

6. Activate Horizontal Type Tool and type your text that you want and use any text and any size. Arrange your text to middle of canvas use Move tool. Then use CTRL + Click layer text on layer palette to make selection. Next use CTRL + Shift + I to invert selection area.
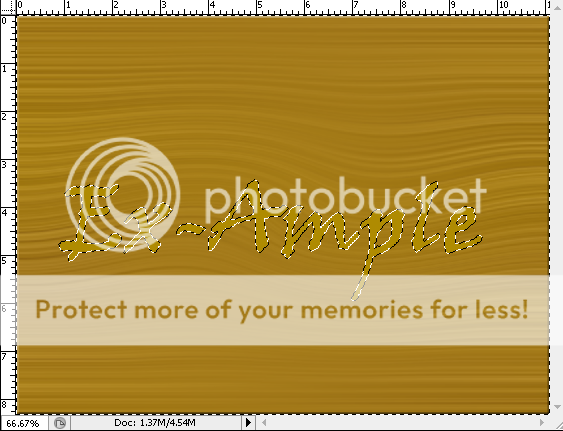
7. Without loose the selection activate "Basic" layer then press Delete button on your keyboard. Loose selection area use CTRL + D. Click icon eye of text layer on palette to hide text layer.

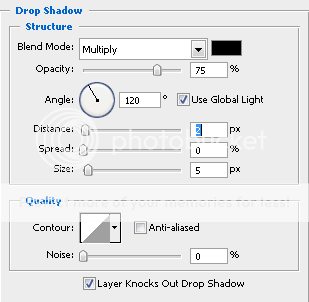
8. Now add layer style to "Basic" layer, double click on it to show the dialog box. Choose Drop Shadow, define Distance: 2px and leave the other without change it.
9. Click on "Frame" layer to activate it. Use Rectangular Marquee Tool to make selection for make a frame. After you select the area , press Delete key on your keyboard.


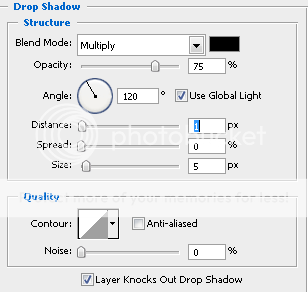
10. Add layer style for "Frame" layer. Double click on it to show dialog box and choose Drop Shadow. Define Distance: 1px and leave the rest on default.
11. Next just for additional style, select "Frame" layer and activate Rectangular Marquee Tool. Make selection on bottom area of layer Frame. Make it long and thin.

12. After that on menu click Layer>New>Layer via Copy. Then apply Twirl filter, on menu Filter>Distort>Twirl. Insert value about 50-100 for the Angle on Twirl dialog box. Press V key on your keyboard to activate Move Tool. Arrange the new layer just you made and place it under the text. Now your Wooden text is done.


1 comments:
can this example done in PS2??
Post a Comment